Learning how to sharpen a hunting knife is just one of the many essential field skills you need. The outdoors can be a dangerous place – especially when you aren’t prepared. Hunting knives need to be kept as sharp as possible. A dull blade needs more force to cut with the same efficiency.
You can end up slipping or snagging your knife and a dull blade can often cut you worse than a sharp one. Our guide will take you through the 7 steps to getting the perfect edge on your hunting knife. Whether you’re working with small folding knives or learning how to sharpen a large hunting knife – these steps will work for you. Let’s get started.
How to Properly Sharpen a Hunting Knife Like a Pro
We’ll help you choose the right sharpening stone to work with, good technique and preparation tips, and a whole lot more. By the end of this guide, you’ll be ready to get started. While you might be hunting for advice on how to sharpen a hunting knife cheaply, we don’t think it’s a great idea to skimp on your sharpening tools.
Other than being dangerous, you can ruin the edge on a knife that costs several times more than the tool – so it’s worth saving up a little longer. With that said, let’s learn the best way to sharpen a hunting knife!
Step 1: Choosing the Sharpening Stone
When you’re choosing which sharpening stone to use, you have 3 basic choices: whetstones; oil stones; and diamond stones. For our hunting knives, we like using oil stones. They’re excellent at holding the knife steady and keeping the strokes smooth. You can use a whetstone if that’s where you have experience.
Both will give you similar results and will keep the grit away from your edge. We know diamond stones sound tempting, you shouldn’t go this route without a little experience. They peel the steel away very quickly. It’s easy to mess your blade’s edge up with these stones – so tread carefully.
Step 2: Preparing the Stone

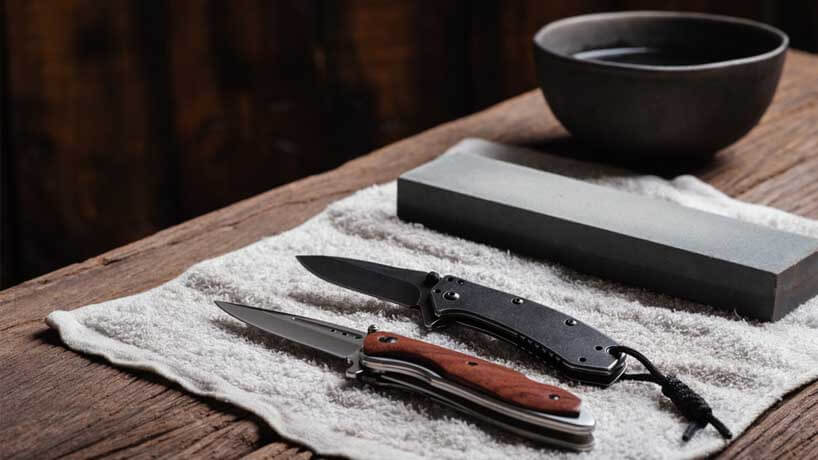
Place your sharpening stone on some mutton cloth. This helps keep it from slipping and moving – giving you more consistent results. Carefully inspect the stone’s surface for any uneven spots. Wipe away any grit and grime before applying the oil. You always want to work with clean equipment as re-using a dirty stone can wreak havoc on the cutting edge.
If you’re using an oil stone, put a couple of drops down on the stone’s surface. Lather it in with the pad of your finger. You don’t want a thick layer of oil that’s dripping and running – just enough to cover the surface and give your blade something to work with. Orient the stone so it sits parallel to you, grab your hunting knife, and move onto the next step.
Step 3: Finding the Best Sharpening Angle
Lay your knife flat on its side, holding it at a slightly offset right angle (by about 10-15°). Use your dominant hand to work the handle – that’ll be the driving force. Your other hand will rest on the side of the blade. Its job is to put some downward pressure and to guide the blade through each stroke.
Place the area near your blade’s tip on the stone (far right side) with the blade facing away from you (to the right). If you’re using a hunting knife with a shoulder running down the middle of the blade (raised portion of the blade), then you need to angle the blade to match it.
To do this, make sure the blade is resting on the stone so the section from shoulder to cutting edge is in contact with the stone. You’ll need to raise the spine of the blade a little. Use your other hand to maintain this angle and keep it from changing through each stroke.
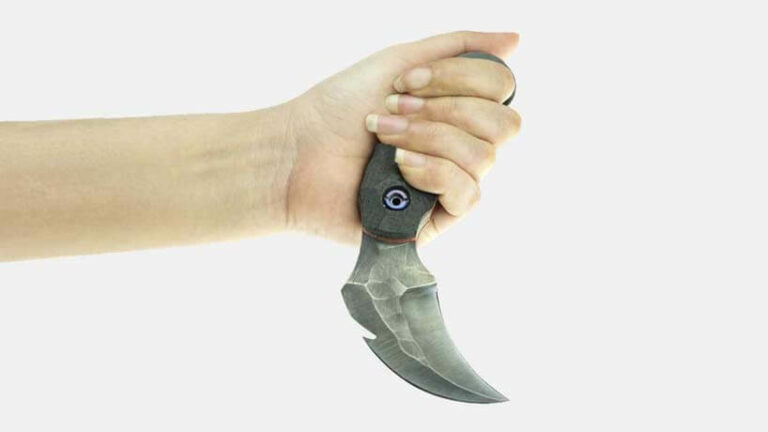
If you’re using a skinning knife or a blade with no shoulder, lay it flat on the stone (don’t raise the spine) and sharpen it that way. These blades are often thinner and slightly more fragile. Use your other hand to support and guide it through each stroke – but don’t put too much pressure.
Step 4: Using Good Sharpening Technique
When you’re learning how to make a hunting knife sharp, choosing the right technique can seem overwhelming. Don’t worry though, we’ll stick with just one here. Make sure the stone is steady and that you’re starting in the right place (step 3). Starting from the tip of the knife, stroke the blade across the stone. You’ll be sliding the blade away from its cutting edge.
We’ll sharpen into the cutting edge on the way back from the other side of the stone. As it moves along the surface of the stone, slide the blade away from you so that the whole edge makes contact before you reach the end of the stone. When you’re at the end of this first stroke (at the other side of the stone), reverse the process.
You’ll be starting at the base of the blade and sharpening into the cutting edge. You must keep the sharpening angle steady when sharpening into the cutting edge, or the blade can catch on the stone. Once you’ve reached your original starting position, you’ve completed one-stroke.
Repeat this 8 times and then flip the blade over and work on the other edge. Most hunting knives are double-beveled and need both sides to be sharpened. All you have to do is mirror what you did for the other edge – including starting on the opposite end of the sharpening stone. Start at the tip-side of the blade and repeat the 8-stroke process.
Pro Tips: Always keep each stoke consistent. Pressure, speed, and angle all need to be kept steady. Add oil or water to the stone as needed. If you can see a lot of grit building up, wipe or wash it away.
Step 5: Don’t Forget the Tip

We need to pay special attention to the tip section of the blade. It’s especially important for hunting knife as you can ruin a gutting session if the tip catches and slip because it’s blunt. For consistency, the cutting edge nearest the tip needs extra work. It’s often hard to get it on every stroke when you’re sharpening the rest of the blade.
You’ll use the same angle and hand positions as step 4. Make sure you don’t change the angle. Sharpen as close to the tip as you can without scuffing or bending it. If you’re using a flat skinning knife, be careful not to put too much pressure near the tip or it can bend. Do 5-10 strokes on each side of the blade before moving on.
Step 6: Steel the Edge
Steeling a knife-edge is an often-overlooked process when learning how to correctly sharpen a hunting knife. It’s almost impossible to get a perfectly symmetrical finish on your blade when you sharpen by hand – and that’s where this nifty technique comes in hand.
You’ll need a handheld steeling rod (very fine grain) that’s big enough for your hunting knife. Hold the rod firmly in your other hand and take the blade to it. Run the edge up and down the steeling rod, alternating between the blade’s sides.
Don’t ignore the edge closest to the tip – give it a touch up if you feel it didn’t get its fair share. You should also steel the edge on your skinning knife and gut hook knife. Do 20-alternating strokes on the blade (10 on each side) and then move onto the next step.
Step 7: Testing and Cleaning

Now it’s time to test your hunting knife’s cutting power. You can test in on some leather, white paper, or material. If you feel it needs more work, take it back to either the stone or the steeling rod – depending on how much work needs to be done. Remember to work in small sets when sharpening.
That way you can avoid overdoing it on one side. When you’re happy with the cutting edge, wipe down and thoroughly dry the knife. Get all the water or oil off the blade and handle (to avoid corrosion). Put your knife away and clean up your stone. All you need to do it wipe off the oil (or wash away the water and grit).
Don’t forget to clean your steeling rod either. You shouldn’t ever re-use a sharpening stone or steeling rod without wiping away the leftovers from the previous knife. These tiny pieces of steel can do quite a bit of damage to the next knife you work on.
Final Thoughts
You should feel comfortable with what you need to do now. Get your knife and tools together, take what you’ve learned on how to sharpen a hunting knife – and put it into practice! A little practice goes a long way and you’ll quickly learn what works best for you. Good luck and enjoy the process!


