You don’t need to jump back into the medieval times to learn how to forge a knife – and thankfully it’s not as difficult as you might think. We’ve broken this process down into 14 manageable steps you can follow (with the right tools). We’ll give you techniques and tips to get tough and sharp blade you can show off with pride. By the end, you’ll be informed and ready to get started right away. Let’s jump in!
The 14 Steps of Forging a Knife
Before we get started – a word of warning. We’re going to be working with hazardous temperatures and potentially dangerous tools. You need to be wise and take precautionary steps. If you’re learning how to forge a knife for beginners, you might want some company to check in on you and help you when you’re in uncharted territory. With that said, here are the tools you’ll need:
- Hammer (blacksmith style)
- Access to a forge (or a DIY knife forge)
- Good quality steel
- Forge tongs
- Protective gloves and goggles
- Anvil
- Quenching tub
- Tool for cutting steel (electric or manual)
- File grinder
- Various grit belts for the grinder ranging from 80-220
- Fuel for the forge
Once you’ve got all these tools together, let’s move on and learn how to start forging knives!
P.S. If you’re interested, you can also learn how to make a knife forge!
Step 1: Draw the Knife Shape
Use a marker and draw the shape of the knife out on some cardboard or the counter top you’re working on. We’ll transfer this over to the steel in a minute. Draw it life-size and make sure to account for the size of the handle.
Step 2: Mark and Cut the Shape Out
Draw or trace the same outline from step 1 onto the steel. It’s better to use a single flat and straight piece of steel that’s roughly the size of the knife (no use in wasting quality steel). Using your steel cutting tool, cut off any steel that’s outside the outline you drew in step 2. Be sure to use your protective gloves and goggles and don’t over cut – there’s no going back once you do.
Step 3: Heat It in the Forge

You should see the rough shape of the knife now. Prepare your forge and make sure it reaches 2200°F. This the perfect forging temperature for the knife we’ll be making today. Keep the fuel handy and be very careful around the forge. Red hot steel will cause third-degree burns without giving you a chance to react. Place the steel in the red and orange section and let it heat to critical temperature (until it’s a bright orange color).
P.S. Only use the forge tongs to handling the heated steel (and putting the cool steel into the forge). Don’t forget your protective gloves and goggles.
Step 4: Work the Shape with a Blacksmiths Hammer
Take the knife out of the forge and place it on the anvil while still holding it with the tongs. While the steel is red-hot and fresh out the forge, get to work with the hammer. You want to knock in all the bulges and gradually pound the knife into the desired shape. Don’t strike the steel too heavily.
It’s better to go with more slightly lighter strikes to slowly work the blade into shape. The goal here is to get all the sides and edges even. Use the tongs to hold the knife at the needed angle. As soon as the glowing orange color starts to fade as the knife cools, stick it back in the forge. You’ll risk cracking it while working on a black or cool blade.
Step 5: Reheat and Repeat

Keep on repeating this reheating and hammering stage. Spend time on both the glade and the handle. Don’t worry about shaping the bevels yet. For now, you should be trying to get an even and balanced profile. Hammer from all angles to work out any bumps or bulges. When you’re shaping the finger guard, use a round steel pole (we used a 1” piece). Place in the guard area and hammer the pole to leave you with a nice rounded shape.
Step 6: Make and Shape the Bevels

With the knife heated, lay it flat on its side while still holding it with the tongs. Raise the spine of the blade off the anvil and leave the cutting edge touching it. Hammer it while it’s still red-hot. Don’t strike too hard, as you don’t want to over bend the steel. Do a couple of strikes on one side, flip the knife over, and repeat on the other side. You’ll start to see the bevels showing and leading toward the cutting edge we’ll work on later.
Step 7: Anneal the Steel
Annealing will soften the steel to make grinding easier and more effective. It’s quite a simple process. All you need to do heat the steel in the forge until it’s no longer magnetic (you’ll need a magnet for this). Once it reaches that point, remove it from the forge and leave it to cool at room temperature.
Step 8: Shape the Knife on the Grinder
We’ll start shaping the profile of the knife with a 36-40 grit grinder belt. Here is where you’re going to work on the finer and more accurate details of the knife’s shape. Square all the sides and get everything as even as possible. Be a little cautious here as you don’t want to grind too much off – there’s no going back if you do. We’ll grind down the bevels in the next step, so for now, just stick to the shape and profile of the knife.
Step 9: Grind and Shape the Bevels
Use some steel layout fluid to mark the blade. This will help you keep track of the bevels starting points and progress as you grind. Mark the center line of the cutting edge by scratching it in with a same-size drill bit. This is the line you’re going to grind the bevels down to (the future cutting edge).
Lay the knife on its back about 1” from the belt and touch the bevel to it (60-80 grit belt). Press it into the belt gently. This is the angle you should grind the bevels at (though you can adjust according to your goals). Gradually grind down both sides, making sure they have the same starting point (for the bevel) and reach the center line evenly.
Step 10: Preparing the Handle
Take a steel drill bit and drill some quarter-inch holes in the handle. As for how many holes to drill – that’s up to you. This is both an aesthetic and a balancing process. I like to drill 3-5 holes in my handles as I prefer that look and feel over solid handles. Feel free to skip this step if it’s not to your liking.
Step 11: Normalize the Knife

Heat the knife to its critical temperature (until bright orange) and then remove it from the forge. Let it cool at room temperature while brushing it with a thick steel brush. This process relieves stress from the knife and gets some of the impurities off the surface. Repeat as needed. Where you’re done, inspect that all the edges are squared off and even.
Step 12: Harden the Steel
Heat the steel to critical temperature again. Remove it from the forge using dunk the blade-side into the quench tub. You don’t want to dunk the whole knife in as we’re only looking to harden the blade. Repeat this a couple of times, making sure to heat it correctly and let it cool until black. This will harden the blade while not making the handle brittle.
Step 13: Temper the Knife
Let the knife completely cool off then heat it for 2 x 2-hour cycles at 400° (for a total of 4 hours). Leave it to completely cool off at room temperature between the cycles. This tempering process will leave the knife with about a 56 Rockwell Hardness rating. This is just enough for good edge retention without chipping.
Step 14: Finishing and Sharpening

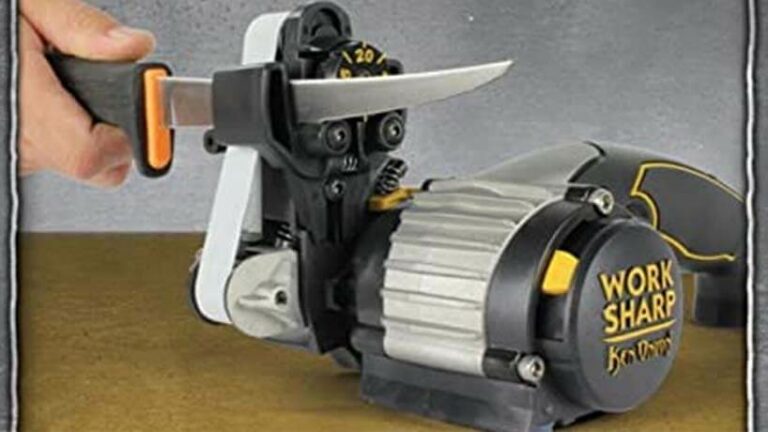
Using a 180-220 grit grinding belt, work the bevel down gradually. This is thin enough for a cutting edge to be worked in. Try to keep the bevels even and straight without having a wavy contour of any kind. To put the necessary edge on the cutting side, use a Trizact grinding belt.
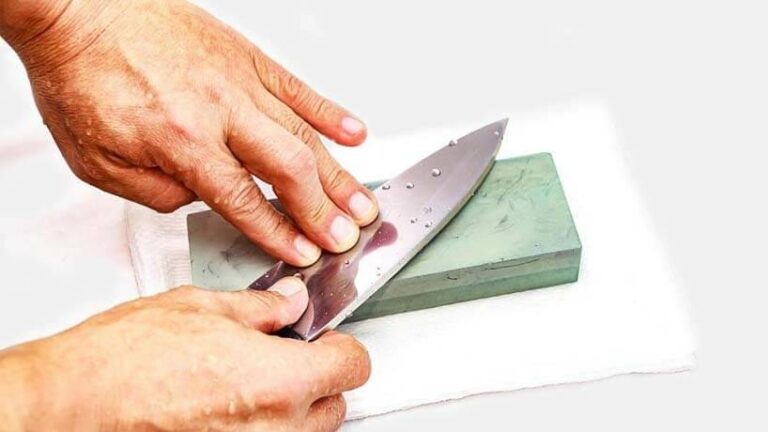
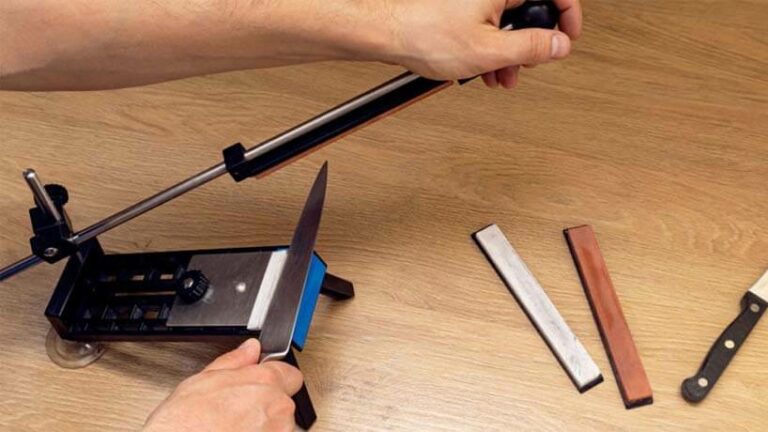
It resembles the texture of a file and will help you get the cutting edge to 1/32”. You can then sharpen that edge with whetstones and standard sharpening tools. You can use super-fine grit belts to polish and smooth the knife (just be careful not to ruin the edge).
Final Thoughts
There you go! 14 beginner knife forging steps to get you started. Bear in mind there’s still some work to do in polishing and adding other aesthetic finishes – but that’s a matter of personal preference and beyond the scope of this guide.
Take some time to put a sharp edge with the right tool to make the most from your forged creation. The best thing you can do now is to get some practice. Take what you’ve learned here on how to forge a knife and get started. Stay mindful of your safety and always be focused. Good luck and we hope you enjoy the process!


