There’s nothing worse than opening your toolbox/shed, only to find your hatchet half-rusted to death and the cutting edge duller than a spoon. Maybe you’ve just rustled up that old hatched in the garage, or you found an old one buried on your property and don’t know how to get it functional again because you don’t know how to sharpen a hatchet.
We’re going to show you how to get this done without needing fancy tools or loads of experience. You’re going to learn the 6 simple steps on how to sharpen a hatchet – and yes, it’s that easy. We’ll guide you through what to pay attention to, the technique you need to get the best results, the tools you need, and much more!
By the end of this guide you’ll be ready to get that old hatched out, remove the rust, and put on one of the sharpest and strongest edges it’s ever had. You’ll be able to do this all from the safety of your home, without risking lopping off a few of your fingers. Our steps and methods are cheap, effective, long-lasting, and easy to follow – even for a beginner. Let’s get started!
How to Sharpen a Hatchet: Starting Off Right
Our method works so much better when you put a little time and effort into getting prepared. First, we need to organize the tools and sandpaper. Here’s what you’re going to need:
That’s everything you’ll need to put an excellent and sturdy edge on any hatchet. Let’s get started on the next steps!
Step 1: Remove the Rust

If your hatchet has any rusting, now is the time to get rid of it. The far easier but more expensive option is to use an angle grinder with a wire brush attachment. Clamp the hatchet down and use the wire brush to get rid of all the rusting. Work on one side of the hatchet’s head at a time.
Make sure you get all the rust out of any pitting on the steel. Flip the hatchet over and repeat. Make sure you also get any rust off the top and bottom of the hatchet’s head. If you don’t have an angle grinder, then you’ll need to use sandpaper. Use the double-tape and sandpaper tool we’ll learn about in step 3.
Use 120-grit sandpaper and clean up the whole head. Make sure to pay special attention to the hard-to-reach areas and pitting. This will take much longer, but it’ll get the job done.
Step 2: Use the Right Technique
Once all the rust has been removed, the next thing we need to sharpen a hatchet is to find your hatchets grind angle. This is the angle you need to sharpen the bevel to optimize its cutting power and durability. Clamp your hatchet down at the part of the head that meets the handle. Try not to clamp the handle down (especially if it’s wood) or you’ll risk cracking or snapping it.
Lay the handle along the edge of the table, making sure that the cutting edge sticks out over the edge. You need to leave yourself enough room to work without bumping into your workbench. Now for the sharpening technique…
When you’re sharpening a hatchet, you shouldn’t sharpen into or away from the cutting edge. This slowly damages it and makes it far more likely to chip. Good sharpening technique works the sandpaper along the bevel without pushing into or away from the cutting edge. This helps keep the bevel even across its length and gives you more consistent cutting power.
At each stage of sanding, finish the job on one side before flipping the hatchet over and repeating the sanding on the other side. This helps to control the burr (steel that gets pushed over the cutting edge) and lets you track your progress more easily. Now move on to step 3 where you’ll prepare the sandpaper and get to work!
Step 3: Sharpen the Bevel
Start by cutting strips of each of the grits of sandpaper we prepared in step 2. You’ll most likely need at least 3-4 strips of the 120 and 240 grit paper, and 1-2 of the other grits. Use some good double-sided tape (the type you can use a couple of times without needing to replace) and stick the 120-grit sandpaper to it.
Staying Safe
Make sure it’s fastened securely and isn’t going to come loose while you’re sanding. Clamp your hatchet down so that the cutting edge is over the edge of the work table. Make sure it’s at a comfortable height and easy to work on as sanding can be very tiring with the wrong posture. Remember that when you’re sanding, you need to follow the cutting edge.
You should sharpen across the cutting edge, following its shape. Don’t sand into or away from the cutting edge. With your sandpaper fixed on the wooden plank (to the double-sided tape), place it flat on the bevel. You want to get as much contact with the bevel as possible to make sure you get consistent and even finish.
Keep Up Till the Color Changes
Continue sanding the bevel until you’ve worked off the top layer. You should notice the bevel’s color changing. Make sure all your strokes are steady and with even pressure. Try not to neglect the top and bottom of the bevel. You’re ready to flip over the hatchet once you’ve got an even color (from sanding) and a slight burr leaning over onto the other side of the cutting edge.
Now flip the hatchet over and repeat the same sanding process on the other cutting edge. Once you’ve got the same finish and color, you’re ready to move on the 240-grit paper. Flip the hatchet over to its original side and repeat what you did with the 120-grit sandpaper. Remember to keep strokes even and consistent.
Change Out the Grit
At this stage to sharpen a hatchet, repeat this process with the 400, 600, 800, 1200, 1500, and 2000 grit strips. Switch out any strips that wear quickly for a fresh one (or try to use a new strip every time you flip the hatchet over. By the time you get to the 1500 and 2000 grits, you’ll start to notice a mirror-like finish on the bevel – this is what you want. Now you’re ready to move onto step 4.
Step 4: Don’t Forget a Micro-Edge
With the 2000-grit paper on, lay the wood plank flat like with the sharpening in step 3. Raise it slightly so that you’re getting a steeper angle on the cutting edge. Sand like this until you’ve put a second or micro-edge of the already sharp cutting edge.
If you’re worried about doing too much, then do a couple of strokes at a time. Make sure you don’t do so much that you create a burr on the reverse side. This micro-edge adds a lot of strength to the cutting edge and makes it more resistant to chipping.
Step 5: Remove Any Burr Remnants
Use a leather strop to work off any burr remnants left on either side of the cutting edge. Clamp the leather strop down on one end and lay it flat. Also, run the edge along the belt in alternating strokes, always away from the cutting edge. Do this and manually inspect the edge for any burr remnants. You can also use a bright light and even a magnifying glass to inspect it. Repeat this process until you’re happy with the results.
Step 6: The Cutting Test
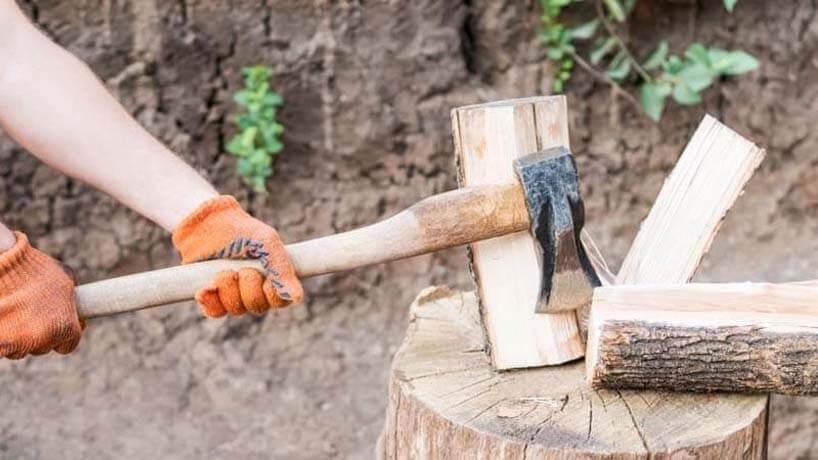
Grab a piece of paper and try to cut it with the hatchet using small controlled slicing motions. Make sure you test all along the cutting edge to make sure you’ve got an even edge. It should cut through the paper without too much tearing. If you’re happy with the results, then you’re all done! You can always go back to the stropping or fine-grit sharpening stage if any part of the cutting edge isn’t cutting as you want.
Final Thoughts
Remember to work at a comfortable height and take breaks if you start to fatigue. During breaks and away-time, unclamp the hatchet and move it out the way so the cutting edge isn’t hanging over the edge of the table. And that’s it! Now you know the 6 easy and simple steps on how to sharpen a hatchet. Gather the tools you need and review your technique before you start. Your hatchet is going to be cutting like it’s new in no time! Enjoy!


