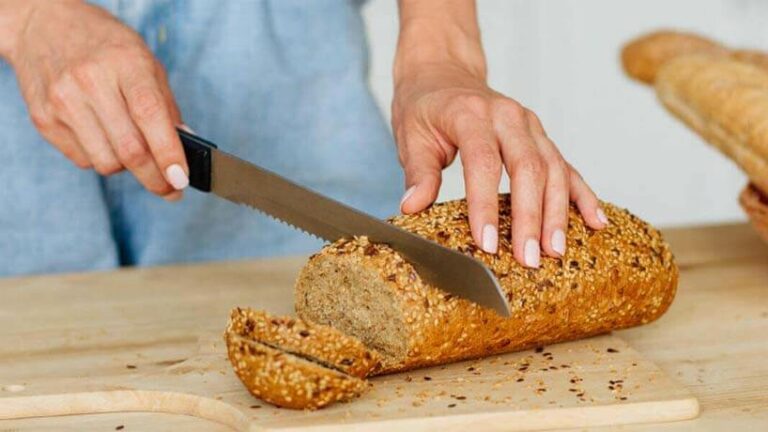
There aren’t many things more frustrating than trying to cut a couple of bread slices in the morning – only to have them crumble and tear in your hands. Other than making you want to throw your bread knife across the continent, it also ruins a calm and casual breakfast. At the time, I had no idea how to sharpen a bread knife.
I didn’t even know that serrated knives could be sharpened. In hindsight, we could have saved loads of money needlessly replacing out bread knives once they went dull. This guide will show you that bread knives can indeed be sharpened.
You’ll learn the right techniques and tools to get the job done right. Our goal is to get you cutting the bread into perfect slices every time – and enjoying the breezy feeling of gliding through the cut effortlessly. Let’s get started.
How to Sharpen a Serrated Bread Knife at Home
Here we’re going to show you all the tools and techniques you’ll need to sharpen a serrated bread knife at home – DIY style. Avoid the temptation of going out and buying a new knife.
With our steps, you’ll get your bread knife back to its original sharpness. Your hands and wrists will thank you for not having to deal with the aggressive sawing motion and clenched fists. Let’s get into the steps on how to sharpen a bread knife easily.
Step 1 – Use the Right Tools

The first tool you’re going to need is a tapered sharpening rod. These come in several shapes and sizes. Lansky makes some excellent handheld tapered sharpening rods and some of them even fold into the handle. We advise you to go for a diamond tapered sharpener. They’re a tad more expensive but well worth it for the time and effort you’ll save.
They’re usually around 600-grit and give your edges an incredible finish without taking off too much steel. You’ll only need 2-4 strokes on each serration to get the edge back. The thicker part of the rod (nearer to the handle) will sharpen the sides of the serrations and the thinner parts will sharpen the dip. Make sure the handle is comfortable and not too light. A hefty feel helps to get more consistent strokes and an even finish.
Step 2 – Find the Bevel
Most bread knives are only angled on one side of the blade. This is important to know because you don’t want to force a bevel into the wrong side by choosing the wrong side. You need to inspect the edge quite carefully and from different angles. Try to find which side of the blade tapers off as it nears the serrated cutting edge.
The non-beveled side will remain straight right through to the cutting edge. Once you’re sure you know which side is beveled, you can move onto the next step. If you’re still not sure, look up your knife model online to get verified information. There’s also a small chance that your blade is double-beveled, though this is rare for bread knives.
Step 3 – Use the Correct Sharpening Angle
The angle you choose to sharpen the knife depends on the angle of the bevel. You don’t need to get too specific though. We find that sharpening a serrated edge at an angle around 40° – 50° is functional. An overly steep angle might mess up the cutting edge of the serrations, and an overly shallow angle won’t make contact with the cutting edge.
We know it’s not the most practical advice, but a little practice and experience will be the best teacher. If you’re not confident, you can try out a couple of slightly different angles to see which works best.
Step 4 – Use the Right Technique
When you’re learning how to sharpen a serrated-edge bread knife, the trick is to do it in small doses. This is a good habit to get into as you reduce the risk of doing irreparable damage. We find that sets of 3-4 strokes are enough. You need to make the whole length of the tapered rod makes contact with the serrated tooth.
Lay the knife down flat, so that it’s parallel to you. Make sure the serrated cutting edge is facing away from you. Hold the tapered sharpening rod comfortably and relatively firmly in your hands – but don’t grip it as your life depends on it. Place the thickest part of the tapered rod right in the center of the dip between two of the serrated teeth.
Steadily and smoothly pull the rod toward you, keeping the pressure and speed as constant as possible. Make sure the angle isn’t shifting as you move through the stroke. You want to make good contact across the whole length of the sharpening rod, right through to the thinnest part. That’s one stroke.
Repeat this 3-4 times on each of the serrated teeth. You can test the edge with your thumb (if you have a little experience that way) or you can cut a sheet of paper. Repeat this process as many times as you need to, remembering to keep the pressure and angles consistent throughout. Now let’s take a look at some extra tips to sharpen a bread knife.
Step 5 – Touch Up the Straight Edge
Many bread knives have a short section near the tip of the blade where the serrations stop. This straight edge is still sharp and often needs to be touched up. It’s there to stop the serrated teeth from catching and tearing the bread as you finish each cut – and for a couple of functional uses. You’ll sharpen this straight edge as you would any other straight edge blade.
Bear in mind that it’s most likely single-beveled. Use the tapered rod at the same angle as step 4. Run over the edge with 4-6 strokes and give the cutting edge a test. While this isn’t the most important cutting edge, it helps to touch it up. Remember to use as much of the tapered rod as possible. This helps make sure you get smooth and consistent results.
Step 6 – Don’t Forget the Reverse Side
The final step to sharpen bread knives is to touch up the opposite side of the blade. Yes, we know we said it’s only a single-beveled blade. But… Giving the non-beveled side a quick sharpening will enhance your cutting power and help to smooth out any imperfections on the straight side of the cutting edge. Flip the knife over so that the cutting edge is still facing away from you.
Use the tapered sharpening rod to run along the cutting edge. Keep the angle relatively shallow, as you don’t want to gouge a bevel into the knife. Instead of sharpening into the blade in perpendicular motion, you’re going to sharpen in short diagonal sweeps. Make sure to use as much of the sharpening rod as possible and don’t forget to keep the pressure and speed consistent.
Repeat this across the length of the blade and do a cutting test. There should be a significant improvement in cutting efficiency and performance by now. Keep in mind that your main focus should be sharpening the serrated teeth. Don’t go overboard with sharpening the opposite edge and the straight edge near the tip. If you want to get a finer cutting edge, go back, and repeat step 4.
How to Protect and Care for a Serrated Bread Knife

The good news is that serrated edges don’t need to be sharpened often. There are a couple of good habits you should develop if you want to cut more effectively without needing to constantly touch up the edge. Make sure you’re using the right type of cutting board. You should be using a cutting board that’s not composite or wooden.
These do the best job of protecting and enhancing the life of your cutting edge. If you’re not using a cutting board at all – go out and get one as soon as you can. Use your knife for its intended purpose. If you’re using your bread knife to cut tough fruits with pips or big seeds, your knife’s edge can chip and ruin. Don’t ever use the knife for cutting open boxes or doing general utility kitchen work.
The final tip is to keep the knife stored well. This means you should get a case or sheath to keep the knife in. You can also store it in a high-quality and well-fitted wooden knife block. Never store it wet and make sure you wash and dry it by hand. Together, these tips should keep your knife’s edge at its best – for longer!
Final Thoughts
You should have a clear idea of the tools and techniques you’ll need to get your bread knife cutting like new. If these techniques are very new to you, feel free to practice on some old knives. When it comes to sharpening, going with cheap tools might be tempting – but it’s not wise.
They can often do more harm than good. Take some time to get good-quality tools and to work on your technique. When you’re ready, take what you’ve learned here on how to sharpen a bread knife and put it into practice. You’ll be cutting and slicing bread like a pro in no time!


